Case Study
E-Commerce
This is a software product which is built for the growth and development of agricultural products. To be more specific, the vehicles and equipment which are used to harvest and grow different types of grains, fruits and vegetables. Users use this software to maintain their machines, buy new ones, change & update hardware parts and exchange machines.
Backend Architecture
Framework: Symfony 5
Database : MYSQL
Language: PHP 8
Server: Microsoft Azure
Frontend Architecture
Framework: React
Database : MYSQL
Language: TypeScript
Packages:Bootstrap, Redux, SwiperJs, i18next, Moment, Formik, Axios etc.
Server: Microsoft Azure
Purpose
When farmers cultivate various agricultural products, they need very high-quality equipment. At here, we basically focused on providing the best deals for hardware supply and support. At the website, the users will find opportunities to buy, sell, upgrade & exchange the hardware tools and even whole tractors. The best deals are always available here to fulfill the client demands.
Target Market
This product is designed targeting on the farmer’s needs. So, the main clients are the farmers who need to use high-tech equipment for better farming and boosting the growth, but definitely at a lower cost. We provide best deals for them so that they can make benefits at a lower expense.
Key Points
- Available offers at reasonable price.
- Easy to access all the features.
- Create different offers according to the demand.
- Available products for all types of harvesting procedure.
UI Flow of The Features
User Log in:
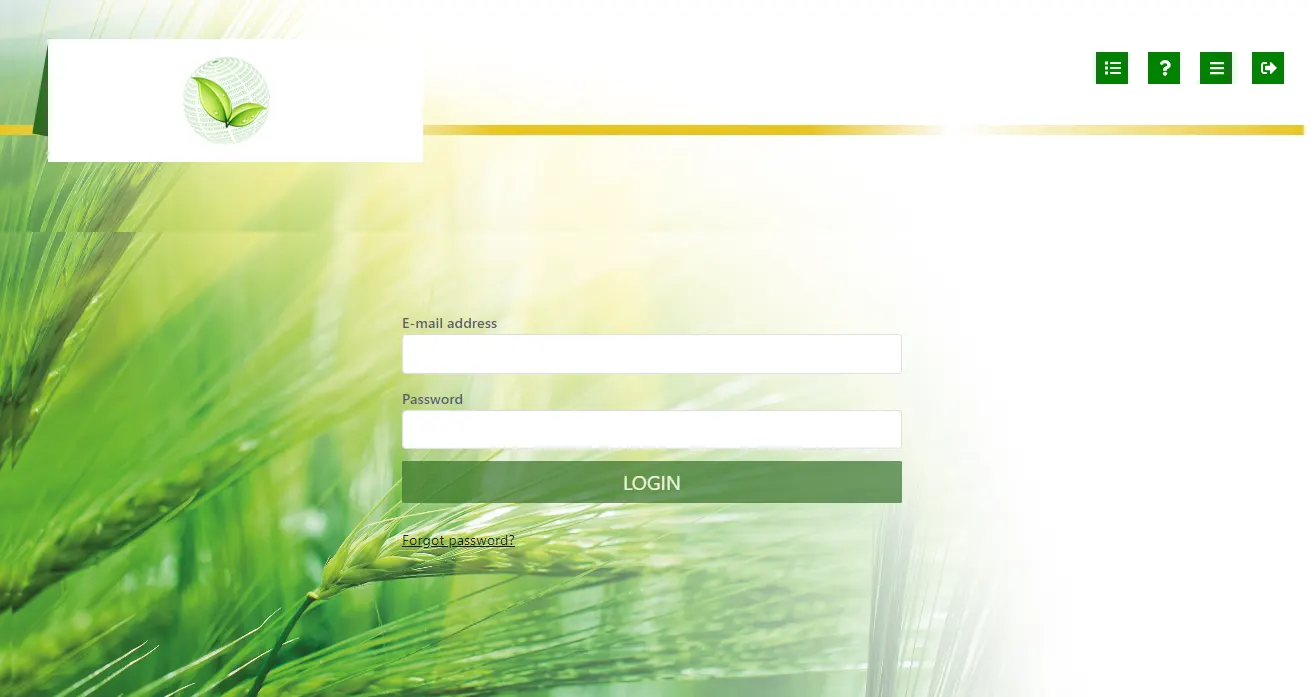
Lets start by logging into the system. Without logging in to the system, its no possible to access it.
Steps:
- Open the log-in page.
- Provide necessary log-in credentials.
- Click on the “LOGIN” button.
Note:
The process will not be completed if the mandatory fields (user mail & password) are not filled.
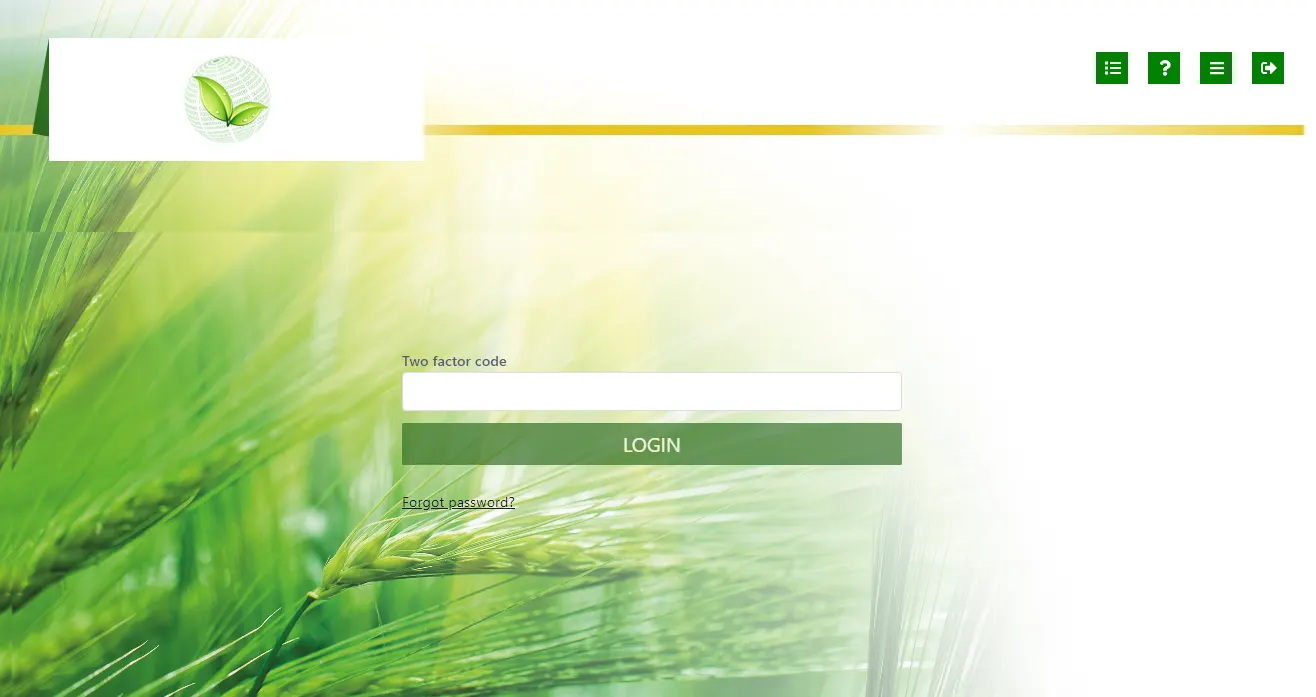
After providing mail address and password, user needs to provide a ‘Two factor code’ for security purpose. This code is automatically generated and sent via text message & email. This code allows the user to access the system. Without this code, user can’t log in.
Create New Quote
Step 1:
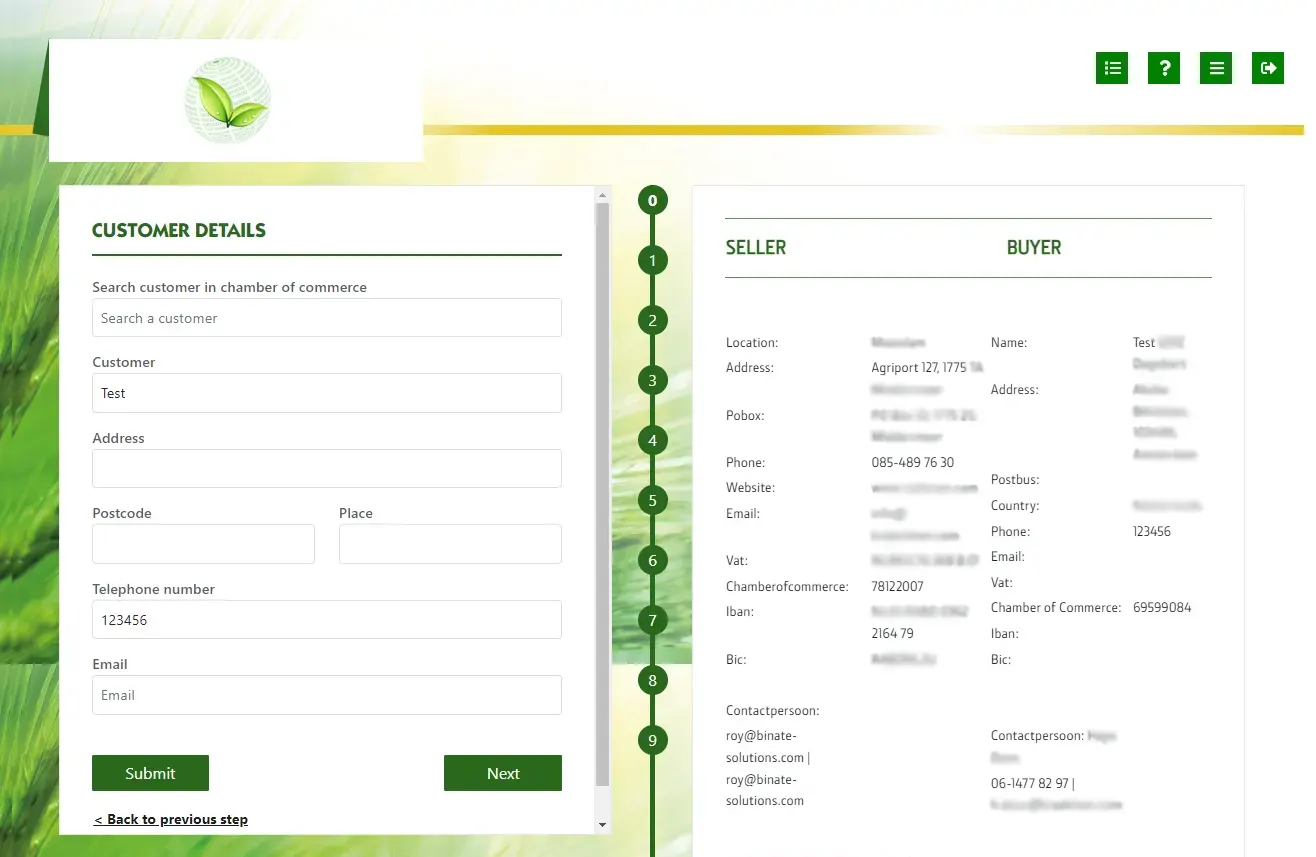
- At first, user has to add the customer info, address, postcode, phone, email at the form on left side.
- Then click on the submit button.
- If all the information is valid, then user needs to click on the “Next” button to proceed.
Notes:
1. The right side of the screen shows the agreement info between buyer and seller. It may change if the buyer and seller are changed.
2. Customer information must be valid.
Step 7 :
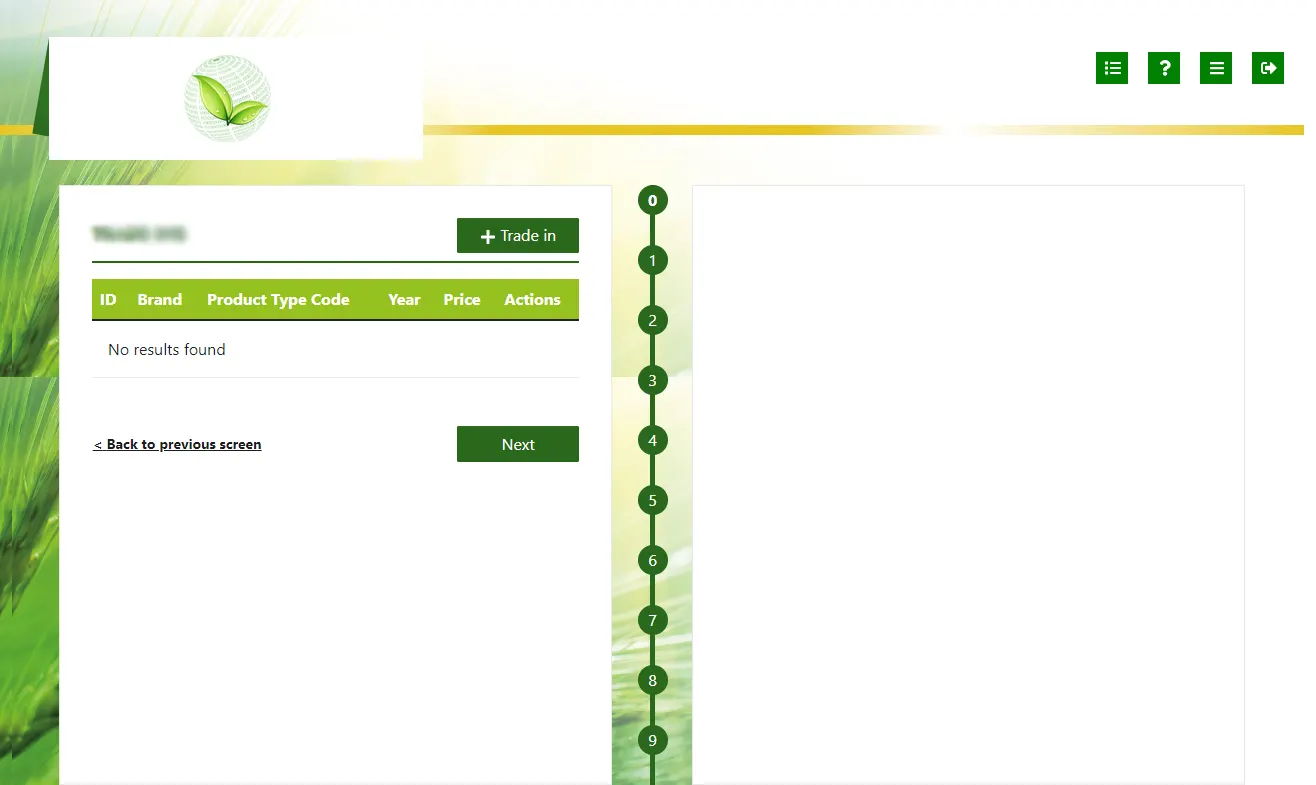
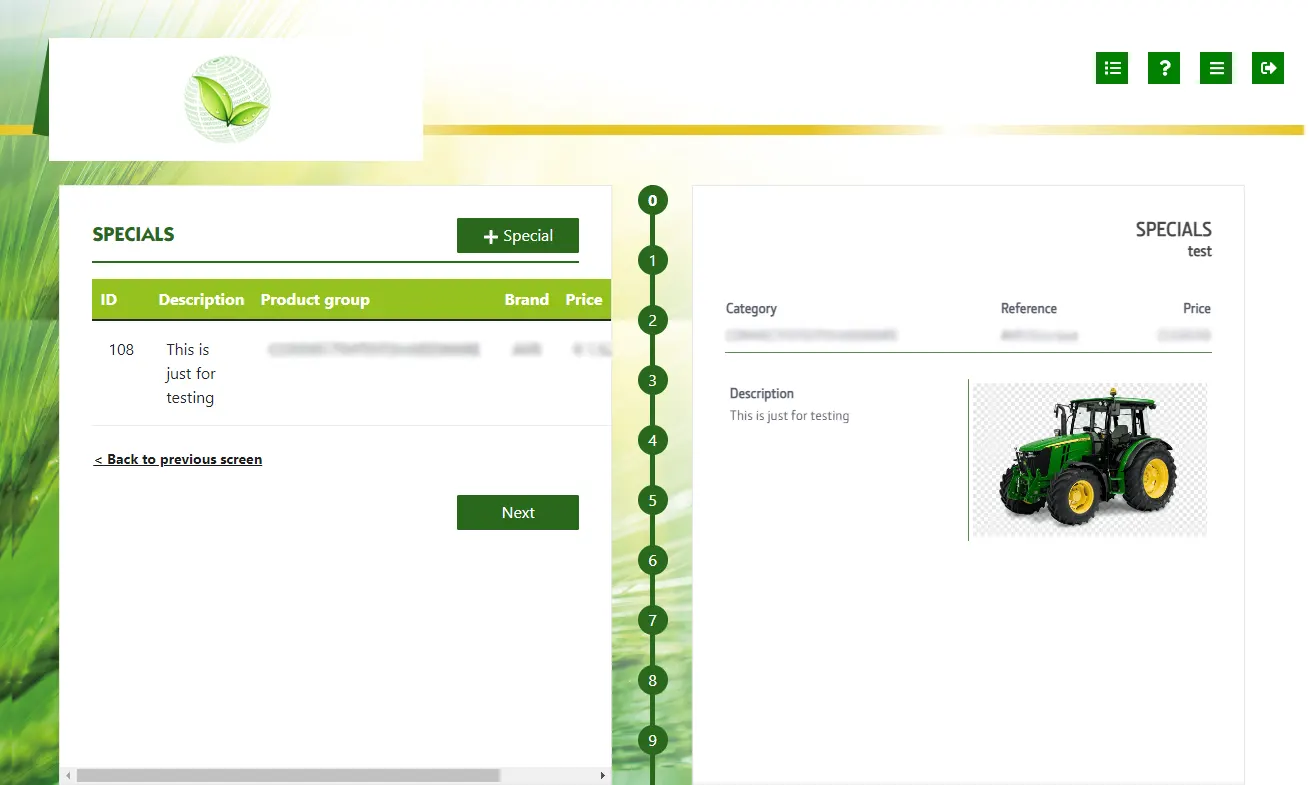
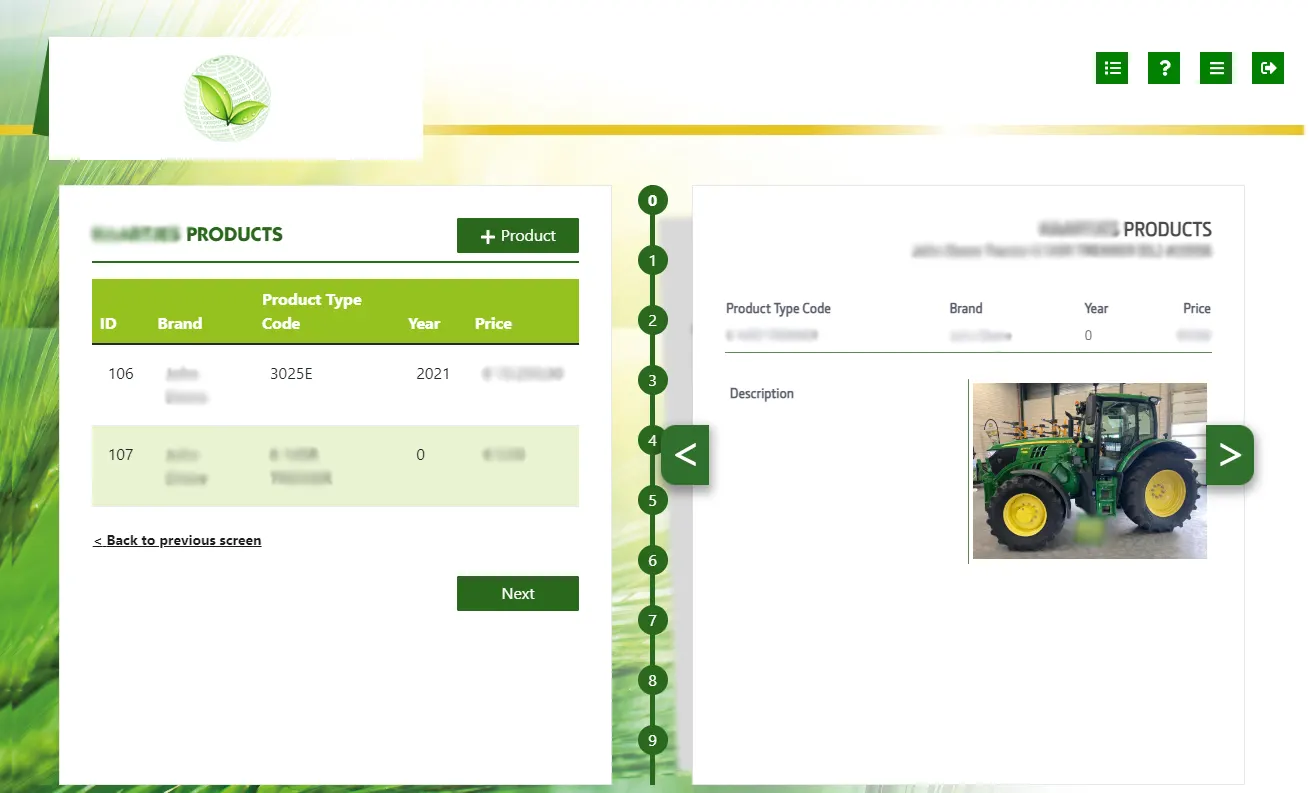
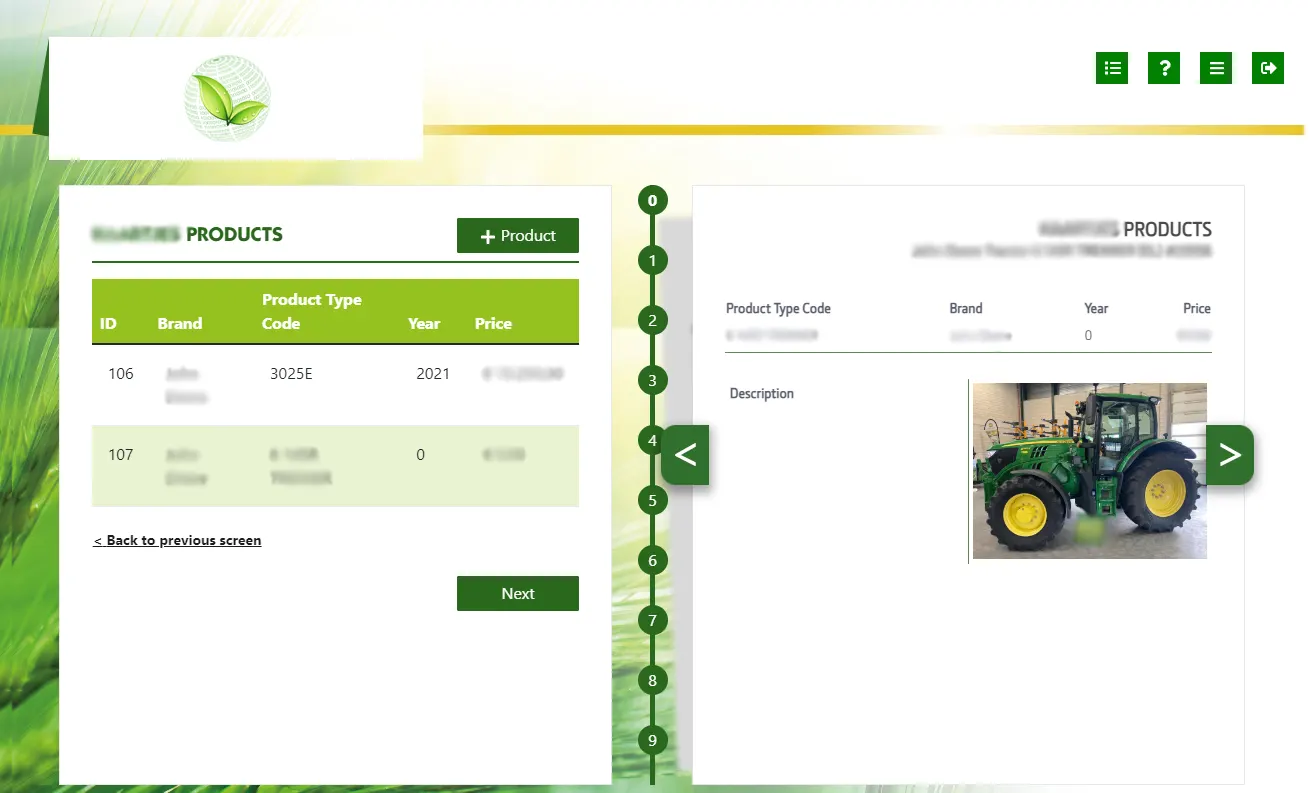
As you can see, the system allows the user to add more deals about some extra products. If there are any special products to be added or user wants to trade in another product, then the system gives the features to perform those actions. After finishing all the steps, a PDF file will be generated. That file contains all the terms and conditions of the business deal/quote. After downloading the PDF file, the user will find two specific boxes, where the buyer and seller put their signature and confirms the deal.
Notes:
1. For security purposes, the preview of the PDF is not generated.
2. The buyer and seller both need to provide authentic information to confirm the deal.
3. The terms and conditions of the deal must be read properly by both parties.
Second Grid:
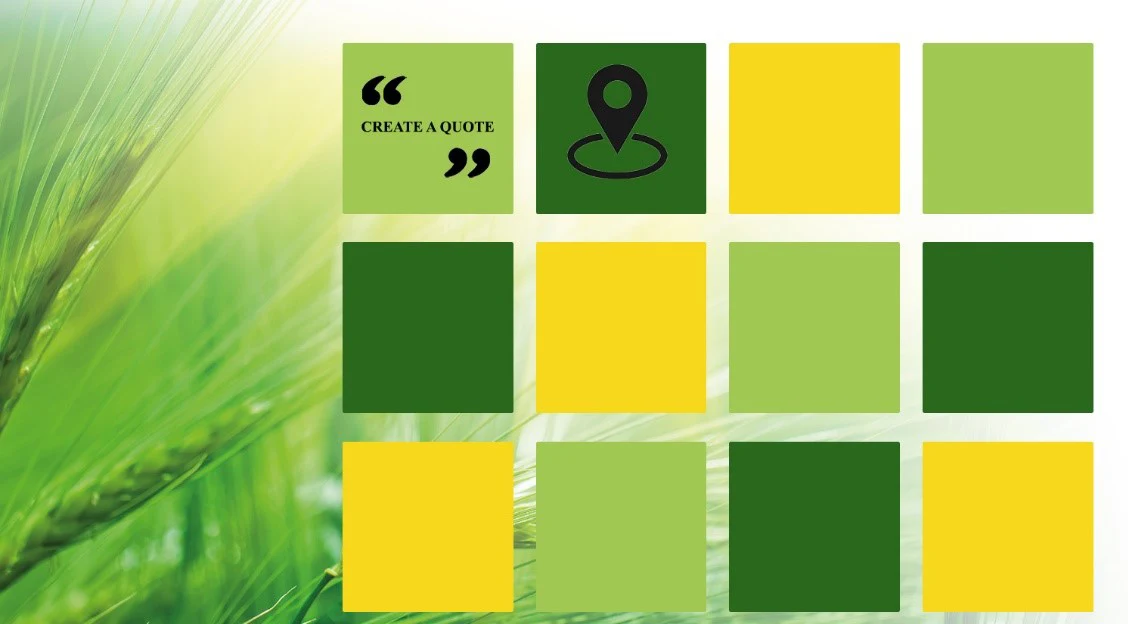
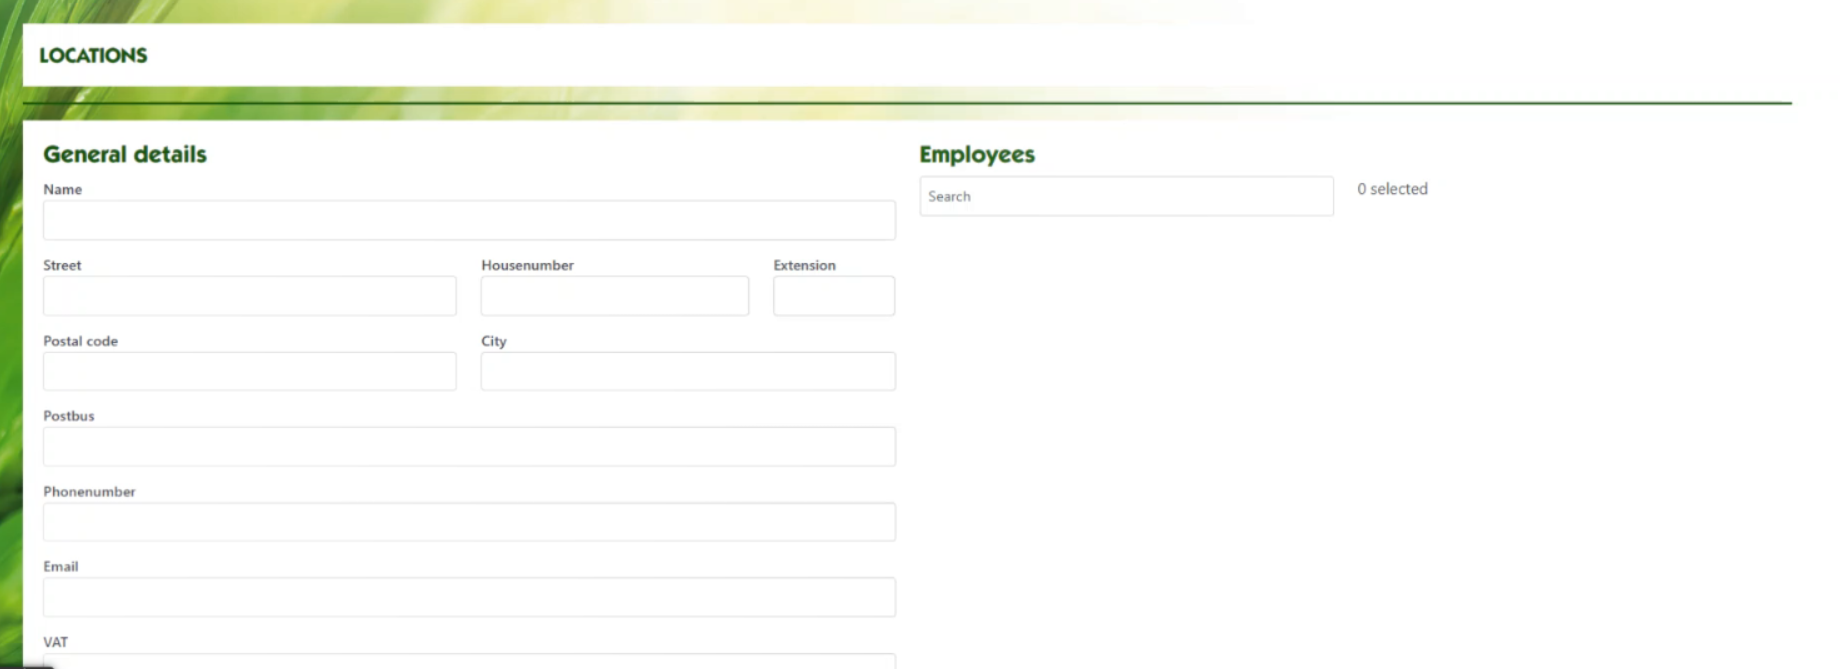
If the user clicks on the second grid, it will open an option to add new location. As we know, different deals can be executed from different places, so giving the freedom to select location according to the user demand is necessary.
Steps:
- Click on the location icon to see the location list.
- Click on the ‘New Location’ button to add location.
- The new location page will be shown and necessary info can be filled.
- The ‘Save’ button will save the location info.
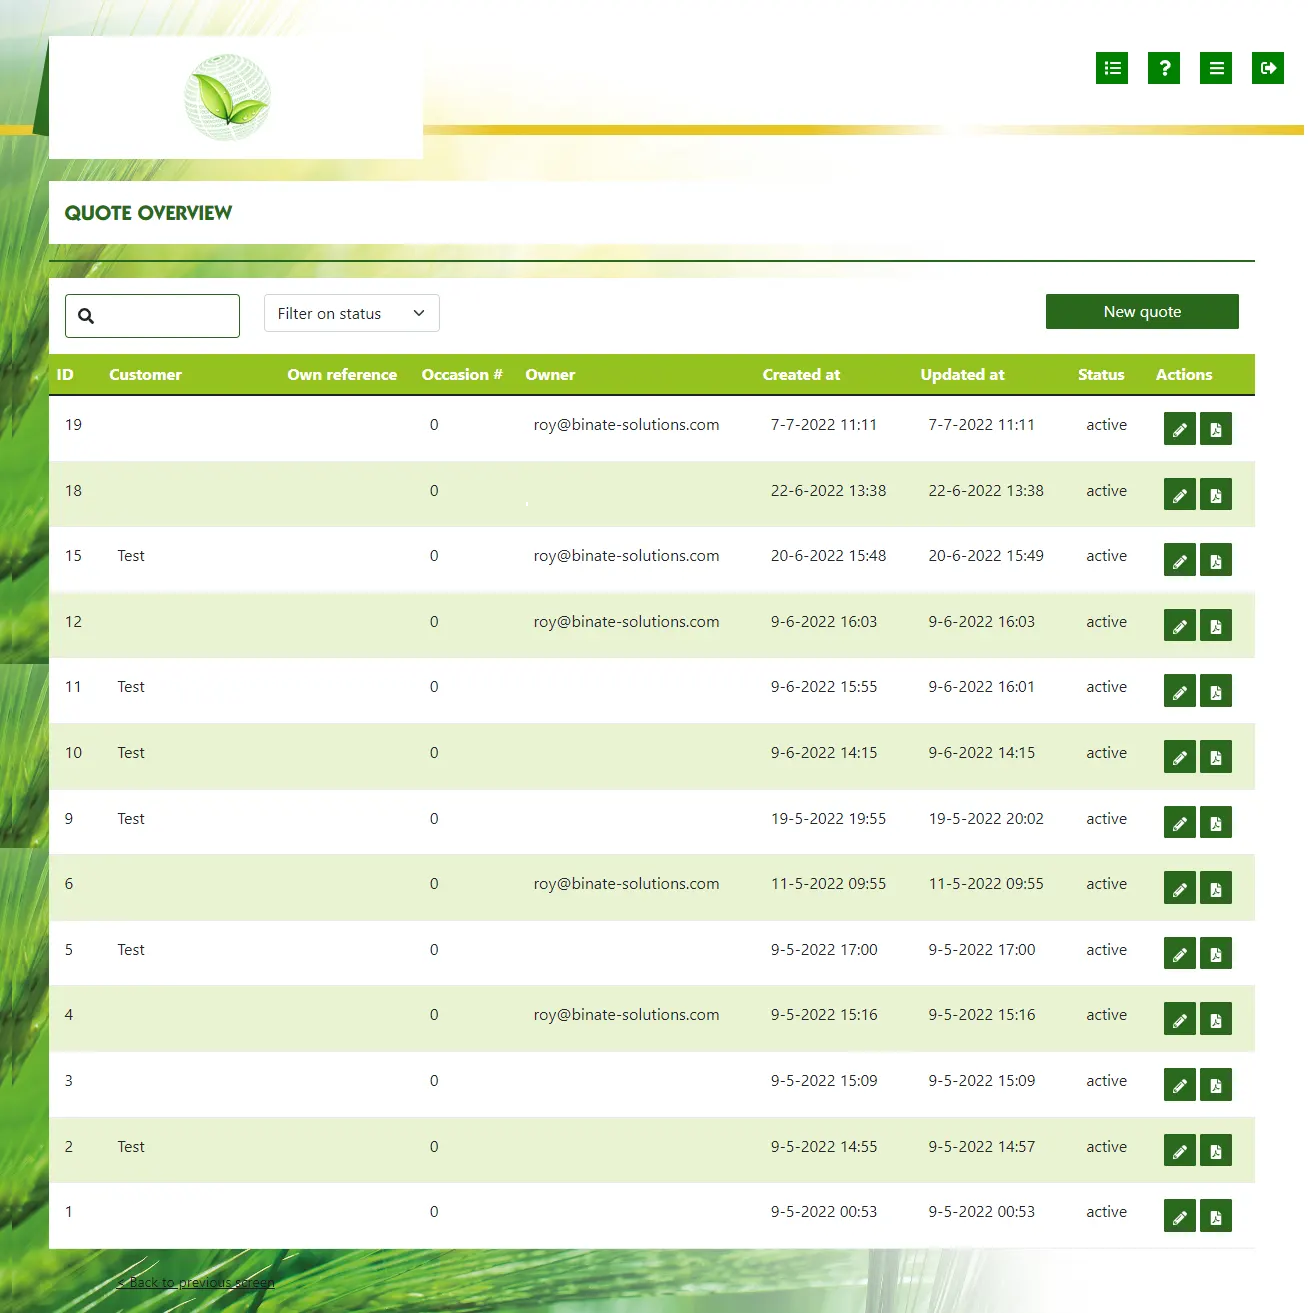
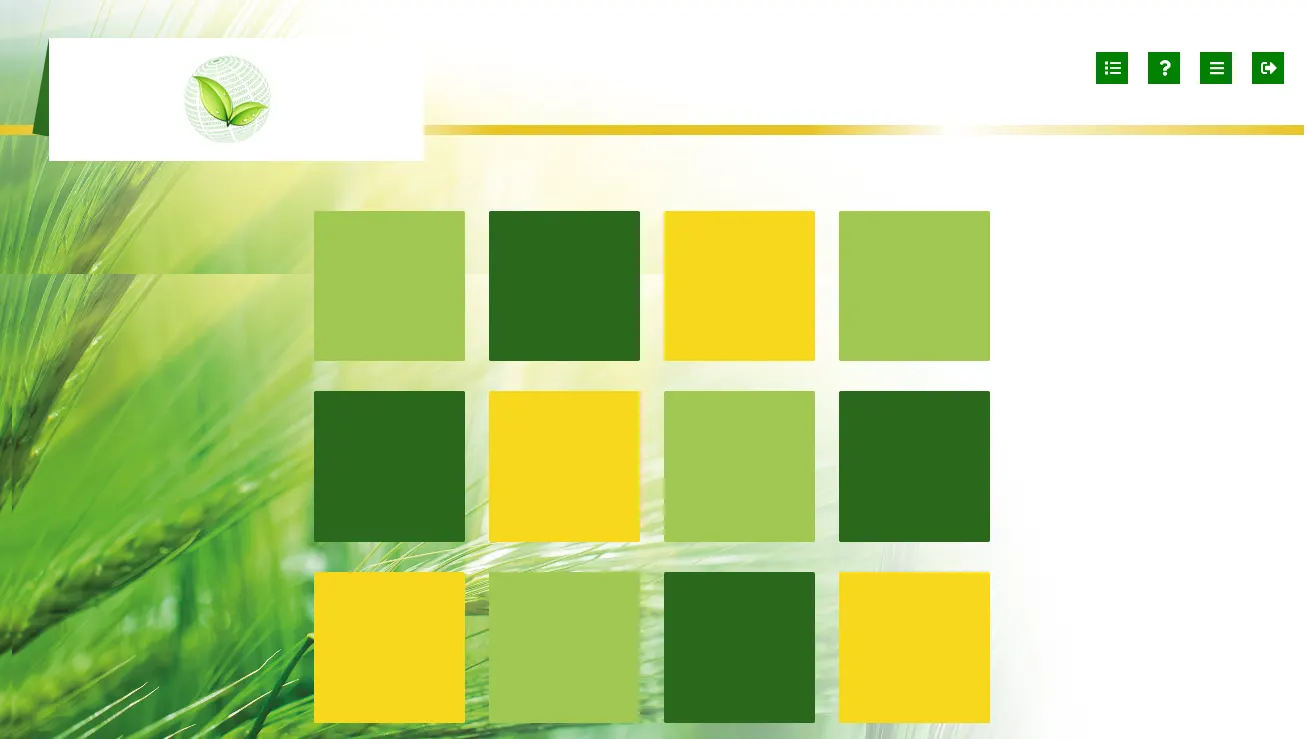
There are a few more grids in the homepage. All those grids will be filled with different functionalities and purposes soon. The first icon at the top right side is the list view of quotes. The second one shows ‘Help’ features in needed. The third icon changes the view. And, the forth icon is the log out button.
Project Details
In a Nutshell
